


Describe Cloud Concepts: AZ-900 Azure Fundamentals Certification Exam Preparation
Need help? Talk to an expert: ![]() (904) 638-5743
(904) 638-5743

WHOOAAA! PowerApps are awesome! This blog will be a quick one to introduce you to PowerApps and help get you started.
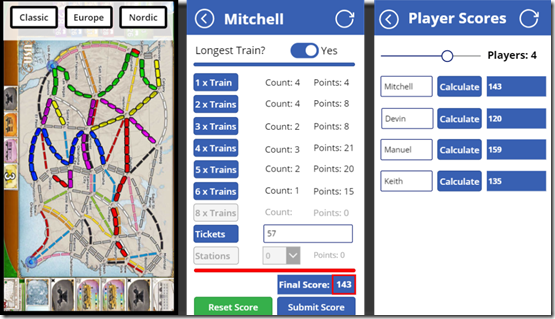
Have you ever wanted to design your own app? Your options with PowerApps are literally endless… maybe you want to build a budget app, a shopping list, a game, or even a checklist. Buildings these apps are not only possible, it’s also much easier than you can imagine. In no time you will be building your own apps from scratch using Microsoft PowerApps! Here is an example of a really nifty app I built in less than an hour to help score a board game we like to play called Ticket to Ride. Take a quick look at the screenshots below (Animated GIF provided at end of this blog):

Microsoft PowerApps is a “low-code” canvas based application that requires minimal coding. The coding that you do write is very basic and shares a lot of similarities with excel functions! That’s right, if you have written an expression in excel then you are half way to writing code in PowerApps.
So what do you need to get started? First , you need a license to access Power Apps, fortunately if you have Office 365 you may already have a license! If not, you can sign up for a free trial of an E3 Microsoft Office Account.
Next, you need to sign up for PowerApps
Finally, you need to create a test environment
Congratulations! You’re ready to start creating your own apps!
Thanks for checking out my blog, in future blog posts in this series I will show you how to quickly build apps so check back often!
Here is the animated GIF of the Ticket to Ride scoring app I created using PowerApps:


-1.png)


Leave a comment